Focus on Fun
This event has passed.
What does New York City look like to you?
Create a cardboard “camera” with Amanda Kingloff, founder of PROJECT KID, and fill it with your images of the city.
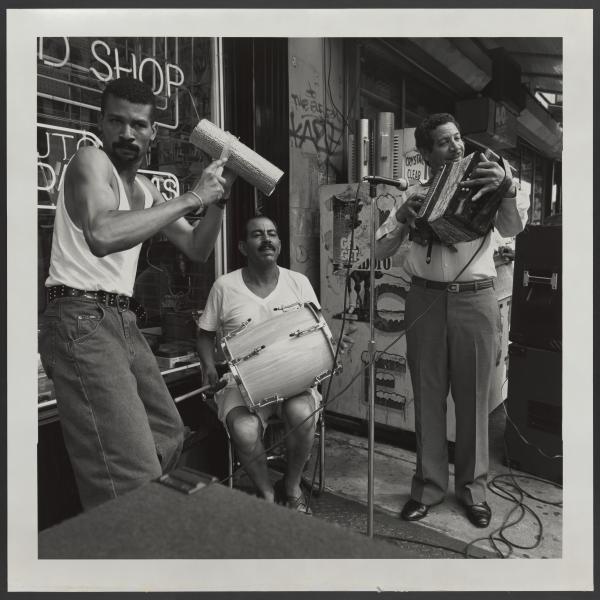
Plus, see how photographers have captured their views of the city with a virtual tour of photographs from the Museum’s collection.
Craft projects are geared toward families and kids ages 7 and up. Younger children may require adult supervision, and all families are encouraged to craft together.
Materials and Steps
Build a Cardboard Camera
- Small box (like a popcorn or mac & cheese box)
- various bottle or jar lids/caps
- Construction paper
- Glue
- Pompom (optional)
- String, ribbon, or cord
- Drinking straw
- Scissors
- White paper
- Colored pencils, markers, or crayons
- As your box is laying flat on the table, cut your straw to the height (or depth) of the box.
- Deconstruct the box at the seam so you can flip it inside out and use the blank brown cardboard side.
- Figure out where you want to put your viewfinder (that’s where you look through to take a picture) and trace the straw piece in that spot.
- Ask a grown-up for help to punch a hole in the center and just make little cuts from the center to the outside of your tracing. Push the straw through and then trace it again where it meets the back of the box. Again, punch a hole and cut slits to push the straw through. You can add a dot of glue to keep the straw in place.
- Use glue to reassemble the box, leaving the tabbed side open.
- Decorate the body of the camera. We glued colored paper to about ⅔ of the front, but feel free to decorate it as much as you’d like!
- Glue your pom-pom (if you have one) to the back of your largest lid (from a jar or peanut butter), and then glue that to the front of the box, slightly to the right. Glue a smaller cap (from a milk jug) just inside that lid. Once the glue is dry, the pom-pom allows you turn the “lens” to “focus” the camera.
- Glue another small cap to the top of the camera on either side, and a short piece of the remainder of the straw on the other side.
- Cut a 2-foot long piece of cord, string, or ribbon and glue it into the sides.
- Cut white paper rectangles that fit inside the box and have your kids draw “photos” of their favorite New York City landmarks.
About PROJECT KID
PROJECT KID is dedicated to offering families creative and inventive ways to spend unplugged time with kids. From DIY crafts to party ideas to home décor solutions, they mix traditional craft, upcycled, and household materials in surprising ways. Amanda Kingloff, the founder of Project Kid, has been creating lifestyle content for over 15 years. After her six-year stint as Lifestyle Director at Parents Magazine, Amanda published “the ultimate kids’ craft book” with Artisan Books, titled Project Kid. Two years later she published her second book, Project Kid: Crafts that Go! Amanda creates content for magazines, websites, and brands, encouraging kids to create the worlds they want to live in. She lives in Brooklyn, NY with her husband and two children, Oliver and Sommer.
Supporters
The MCNY Summer @ Home with PROJECT KID series is made possible with support from M&T Bank.
The Frederick A.O. Schwarz Education Center is endowed by grants from The Thompson Family Foundation Fund, the F.A.O. Schwarz Family Foundation, the William Randolph Hearst Endowment, and other generous donors.

